Subscribe:

Ads 468x60px

Pages

Friday, August 31, 2012

Installing Travertine Tile in the Kitchen Using Geometry - Part 2

We decided to lay hardwood floors on a diagonal. Since the main room is one big open room, I thought it would be cool to have the floor define the space. Originally, I thought I wanted all hardwoods in the living/kitchen. Then I saw the water damage by the sink area. Wood? No thanks.

We will install the hardwoods when everything is complete. Who knows when that will be, so we had to figure out the angles before we could install the tile. Now, I am not much into math. Actually, I suck at it. So, I left the "figuring" to Rick.

We have a saying around here. It takes several hours (sometimes days) to look at something before we can actually do something! I don't know where that came from because I never used to be that way. But seriously, I have to look at something for a long time before I make the commitment to accomplish or even start a project.

Anyway...back to my point. Rick had to have days to look at the angles before he could begin marking the angles. He even bought a protractor or something like that. I think it is something you use in Geometry. But, I wouldn't know. Geometry is the only class I have ever failed. A big fat 'F' in that subject. Who knew you'd really use that stuff in real life? If I could go back and tell my 16 year old self - Hey, you better pay attention. When you are in your 40s, you are going to need to know this to lay tile - I would think I was crazy and said I would never do that sort of thing! Oh, the illusions we have as teenagers!

We used a laser level to shoot from one corner of the room to the other. We marked the angle. This first angle is the entrance to the front of the kitchen. The tricky part was the entrance to the kitchen back by the sink area. The angle started behind the one we marked for the entrance. So, after much deliberation, Rick marked each angle and that is the line I followed to start the tile.

Obviously, the point of this story is: If the angles are off, it is Rick's fault. ;)

This is the entrance at the front of the kitchen. I wanted to start the tile so it looked nice because this is going to be very visible.


Sorry about the iPhone picture on this next one, but here is the tile cut at the angle.

Before grout...

With (some of) the grout...there is a sneak peak of my gorgeous cabinets!!


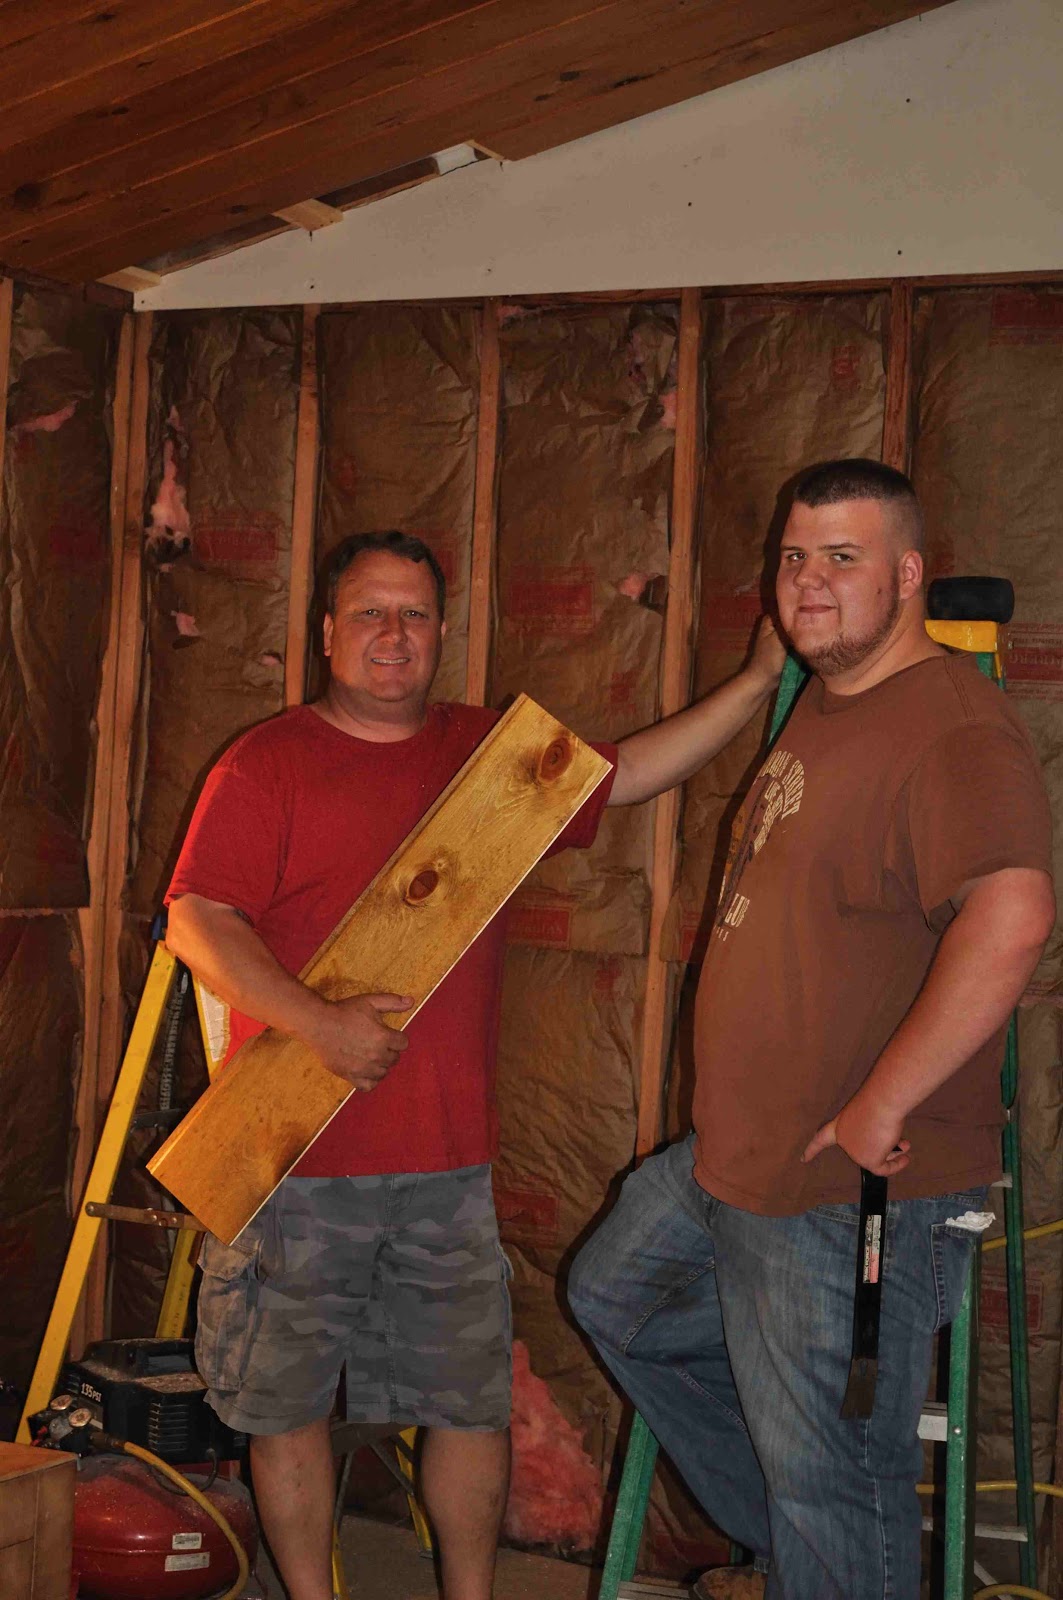
Rick is acting like it wore him out! Not.

I have to give him credit. He did all the cuts for me. Goes back to my lack of Geometry skills. And don't even get me started on trim and crown molding. 45 degrees - what? And level? Yeah, looks straight to me. (This drives Rick crazy.)


And that, my friends, wraps up the tile.

*Footnote: I intend to get better shots with my good camera of the finished project. I am writing these posts four months after the fact and I have found I did not take near enough pictures as I was working through these projects. I will get better. hopefully!

The pantry is next. Really Mom, I promise! ;)
Pin It Now!

Tuesday, August 28, 2012

Installing Travertine Tile in the Kitchen - Part 1

When deciding on the tile for the kitchen, I knew I wanted to go with the same tile I had used in my house in Garland. I installed the tile and knew it was a tile I could easily work with. This picture was taken in my Garland house when I was still grouting and no baseboards were installed at the time.

I bought the tile at Floor and Decor in Plano. It is from the Noce Travertine Tile Collection.

This is a smaller version of the tile I bought. This is a fairly accurate color of the tile.

Installing tile on concrete floors vs installing tile on wood subfloors is a big difference. I soon found out it is much easier to install on concrete than install on a subfloor!

First we had to install cement backer board. We purchased 1/4" HardieBacker cement boards like these:


Here are some pictures of the cement boards already down. This is also a shot of the start of my pantry. The duct tape on the floor is the rough area of where the island would sit.
What a difference my good camera makes! Here is another shot of the cement boards on the floor.
Rick positioned these in the general area of where we were going to tile. He just laid them down. We knew they had to be secured but to what extent, I had no clue. So, I googled it. How did we ever live without Google?

From this site, I discovered you must first use thin set mortar under the cement boards. Really? The instructions said if you lay flooring over just the plywood subfloor, your plywood could swell and contract causing the flooring material to break and buckle. It is especially important to use cement board in areas with high moisture such as a bathroom and kitchen area. Well, crap!

Back to the instructions...you spread just enough thin set for each piece, leaving an 1/8" gap between the boards. That was great, considering Rick had already cut every single piece and butted them right up to each other. 1/8" doesn't sound like much but when it is all lined up, everything gets out of whack. Then you must tape and mortar the seams together.

Once you have the first piece firmly in place and set into the mortar, you want to secure it to the subfloor using 1 1/4” cement board screws. Drive these screws in every 6 inches around the perimeter of the sheet. Then go through the middle and drive them in every 8-10 inches. Make sure that you counter sink the head of the screw in so that it is perfectly flush with the surface of the material.

Do you know how many screws that is per sheet? After carefully looking at the sheets, I noticed these round circles all over the board. I always wondered about that, but thought it was the manufacturer's design element in it! Ha. Yeah, it was a design element alright. Designed to guide in placing the 102 some-odd screws in each freaking board! This is from a closeup shot I took of the board and I didn't even get the whole thing in view so I could point out all the little places the have marked for your screws.


You must use these special screws for this too...of course you do! Another issue I had to deal with. The guy at Floor and Decor showed me the type to use. When drilled in, they countersink so the head of the screw goes down below the surface of the board. Well, some do. That is...if you have enough strength and enough power in your drill battery to make that happen. My cute little drill gun didn't have enough umph to drill through them. I had to use Rick's Dewalt power drill that he hoards. Whatever. He thinks his tools are better than mine. (and most are, but he doesn't have to always point that out...jeez!)

So, he gives me his drill and I set to work. Keep in mind, I am doing all this while him and Zach are putting up the final side of the ceiling. After hearing me cuss and moan for about an hour, he takes a break and strolls over and checks out my progress. I had only gotten about 20 screws done during that time. (I am not exaggerating!) He says to me - You know, it is much easier if you predrill those holes before you put the screw in. I thought I was going to kill him! Why didn't he tell me that before?  I think he does that just to find some humor in messing me with. Rick? Oh, no! He would never do that sort of thing. After all, he is Every Girl's Dream.

Well, after I figured out Rick telling me to predrill the holes, things did go a lot smoother and faster. When all the boards were done, I added a mesh tape (the same I use between pieces of sheetrock) and used some thin set to hold them all together.

Finally, I was ready to install the tile.
.
Pin It Now!

Saturday, August 25, 2012

Installing a Pine Tongue and Groove Ceiling - Part 3

After I sanded and stained all the planks, we were ready to start putting them up. Yay...finally, we could begin to see some progress from a "cosmetic" point of view. That's what I was thinking anyway.

Forgive me for some of the quality in these pictures. It is a miracle that I have as many as I do. I need to start taking better pictures - with my good camera, in good light. I have a lot to learn about all this. ;)


Notice our "moving refrigerator." We have moved it approximately five times now. It always seems to be in the way - no matter where we move it.


Rick and Zach, getting ready to put the last board up.


And the last plank is in! This ceiling project was probably the toughest job we have done to date.

After it was up, and I looked at it for awhile, I decided I really liked it. It adds a lot of warmth to the big room. Things are starting to feel like home. Just have to deal with the exposed insulation and not to mention my pantry items all on the open shelving!

The pantry is next. It is one of my favorite things now!
Pin It Now!

Friday, August 24, 2012

Installing a Pine Tongue and Groove Ceiling - Part 2

We did a lot of research and decided to go with tongue and groove planks. During my research, I found Ceiling Ideas from The Lettered Cottage. They used some thin boards, painted white. I loved the "cottage" look and especially liked the painted white planks. Rick was NOT into painting the planks white. He is more of wood lover.

We shopped local home improvement stores and a few lumber yards. We found pine tongue and groove planks with a much thicker feel to them. We finally found what they call "car siding." It had a lot of character, with the pine knots and different markings in the wood. We got an excellent price on it and Rick went and picked up a trailer load of the planks.

So while he was prepping the ceiling, my job was to sand and stain each plank. I decided to do all the staining and sealing before putting them up. I did not want to do that work over my head.


First I sanded them down. Then I applied wood conditioner so the planks would take the stain evenly. Then I applied two coats of stain. This made a big difference. One mistake I made - do not let the pre-stain dry before applying the stain. I did not read the directions carefully. Thank goodness I only did that on about six planks. I had to go back and sand them all down again and start over. Not fun. Once it dries, it does not let the stain absorb.

 I ended up using the color Golden Oak. I bought approximately ten different colors before finally deciding on this color!

As I was staining the planks, I panicked a bit because this was not the look I was going for! I wanted the cottage feel like this:


I called Rick and told him I had decided to paint the boards white. He had a little meltdown and told me if I painted them white, he was not installing them! Ok. I had to compromise. The planks weren't smooth like the ones from my inspiration picture. I did like the character the pine knots added to the planks. I just didn't want the rustic look so much. Or the feedstore look. Or country...get what I mean?

At this point, I didn't have much choice. I knew Rick wasn't kidding about not installing them. I took a deep breath and just applied the stain. And {tried} to lived with it.

Pin It Now!

Installing a Pine Tongue and Groove Ceiling - Part 1

Originally, we were going to leave the beams exposed in the ceiling. After removing the drop ceiling from the kitchen area, we had to rethink that plan. There was a porch in the area where the galley kitchen was located. The beams extending down over that area were weathered pretty bad. See where the beams are actually notched out from where the old drop ceiling had been. And notice the difference in the wood. I knew there was no way we could ever make that look pretty!


This picture really shows the distinct lines in the beams.


Not to mention, each beam was a different width and they were definitely not level. We agreed to cover them up.

First, we installed styrofoam type panels inside each of the beams. There is not an attic in this part of the house and the ceilings are so high. The heat rises and it is hot up there!

He ran 1x2s on each side of the beams and we cut the styrofoam pieces to fit in between each beam, leaving about a two/three inch gap. Zach came out and was a lifesaver helping with this. He is tall and it helped because he had to reach way up to get to the very top of the peak!


Rick then installed strips of wood that would hold up the planks. And at every intersection of each beam, he had to shim each one. This was a tedious job to say least!


Glad this wasn't my job! Meanwhile, I began getting the planks stained and ready. Pin It Now!

The Original Kitchen

The original kitchen was a galley kitchen. It had a drop ceiling with florescent lighting. The first thing I saw when looking at the kitchen was the wall dividing the living and kitchen area. I knew it needed to come down. Of course, one of my must haves was a nice, big kitchen. I knew the room had potential to be opened up, allowing for a complete redesign of the kitchen/dining/living room.

Here is the original galley kitchen.


This is the view from the kitchen sink. If only the "Christmas tree" would magically disappear!


I couldn't find any other before pictures. This is the wall separating the kitchen from the living room.

Another view of the wall.

This is the view of the old pantry. This is on the inside of the wall separating the living room and kitchen area.


This is pretty much the original design and pictures from the very early stages.

Next I will begin showing you the demo pictures and all the work that has been done.


Pin It Now!

Installing the Front Door

When we first purchased the house, the front door was a sliding glass door as shown here. With one catch. It would not open. Nor had it opened in years. The reason it would not open was the weight of the house had fallen down over the door and therefore, the door couldn't slide open and closed. This was the reason there was a pole in the living room when we first saw the house. The pole was there when the first appraiser went to appraise the house for our loan. She thought the house was going to fall down if the pole was removed. They denied the loan. We went with Plan B. Luckily we had a Plan B!

During Plan B, Rick removed the pole from the house (and no, the house didn't fall down) and we never had to deal with the pole again...until Rick jacked the house up to put the support beam up and reinforce the header over the new front door.

This picture shows the view after the sliding glass door was removed. If you look at the top of the pole, the support beam was already installed. Rick built another support pole that is not shown in this view. It is incorporated into the kitchen bar.

Here is the door installed. Sorry about the pictures on this. I alternate between my good camera and my iPhone camera. Sometimes the iPhone doesn't take the greatest shots but if I don't take them with the iPhone, I wouldn't have them at all. 


We purchased this door from Home Depot. We both really liked it. It needs to be painted.

After the door was installed, Rick insulated between the stained glass windows and covered it with sheetrock. These windows get the late afternoon sun. We decided we would cover the glass above and try to cut down on so much heat coming in from this area. In the picture below, the new support beam is clearly in view.


In the next picture, the new header over the front door is clearly visible. No more glass (from inside the house anyway!).

And with that, the door is installed!

Next up, getting ready to install the ceiling.
Pin It Now!